Ever since moving into our house in 2021 in the East Bay area, I’ve been replacing the exotic and invasive plants with native California plants, preferring pollinator-friendly keystone species in particular.
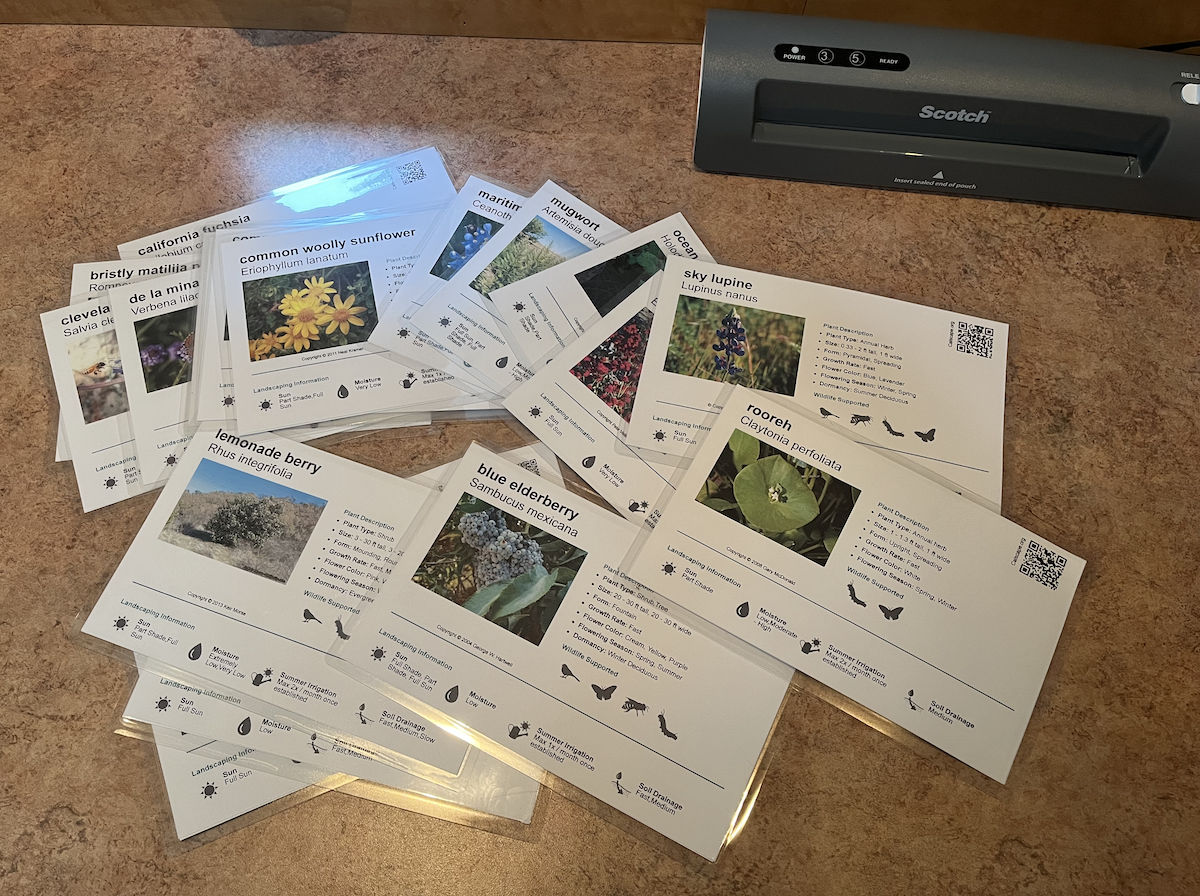
Our garden will be part of a native gardens tour in 2024, and one of the requirements is to clearly label the native plants. I considered many label options (like marker-on-plastic or laser etched wood) but I really wanted a highly informative sign. Fortunately, Calscape.org includes a feature for printing out signs for each native California plant species, so I decided to put laminated Calscape signs around the garden. Here’s what a finished sign looks like:

If you’d like to make similar signs for your native California garden, you can follow the guide below. If your garden is in another state, you’ll need to find a similar source for signs or make them yourself.
Supplies
For convenience, I’ve linked each supply to the product I purchased on Amazon, but many products would work similarly.
- Color printer
- Heavyweight paper
- Paper trimmer (or scissors)
- Laminator
- 6x9 lamination pouches
- 12" landscape staples
- Shipping tape
Steps
- Make a spreadsheet of the native plants in your garden, with columns for common name and latin name. You might also want to note where you sourced the plant from and where you planted it.
- For each row, look up the plant on Calscape.org and add the URL to the sheet. If the entry doesn’t yet have a photo, you can add one yourself by joining the site and editing the page.

- While you have the plant page open, scroll down and select “Print plant sign”. Save it as a local PDF file or immediately print it.
- Print each sign on a sheet of heavyweight paper.
- Cut each sign on the bottom, and top as needed, so that it will fit inside pouch. The Calscape signs have variable height, so the amount of cutting required varies as well.
- For more rigidity, stack the sign on top of the bottom half of the paper that you cut off. Insert stack into a laminating pouch.
- Send pouch through laminating machine, and let it cool down for a few minutes.
- Take a landscape staple and bend the top, using either a vise or a hard countertop.

- Attach sign to staple using shipping tape.

- Stick signs in the ground. 🎉

Considerations
- Sign size: These are fairly large signs, so they’ll stand out from afar and may encroach on plant space. I will probably also experiment with the small “plant label” option on Calscape, which only has the name and QR code. The small version seems especially helpful for labeling annual flowers that can pop up all over the place.
- Sign color: One of the reasons the signs stand out so much is the bright white paper. I may try a cream colored paper instead, if I can find a heavyweight option, but I worry about the effect on the flower photos in each sign (especially for white flowers).
- Weather: My first batch of signs have survived a rainstorm, so that’s promising. It remains to be seen how they will handle a full rainy season, and how much they’ll fade from repeated UV exposure. I assume I will have to remake them at some point, which is why I invested in the printer/laminator versus using a print shop.
- Customizability: I would love to indicate plant source (seed company or nursery) but that’s not possible with the generic Calscape signs. I might end up adding small labels for the tour.
No comments:
Post a Comment