SQLAlchemy 2.0 was recently released, with a few significant interface differences. I'm working on a video that walks through a SQLAlchemy 2.0 example, and in the process of making that video, I created a Dev Container optimized for SQLAlchemy + SQLite + SQLTools.
You can get the Dev Container here (or try it in Codespaces first!):
github.com/pamelafox/sqlalchemy-sqlite-playground
Dev Container contents
The devcontainer.json includes:
- A base image of
mcr.microsoft.com/devcontainers/python:3.11 - Python linting extensions:
"ms-python.python", "ms-python.vscode-pylance", "charliermarsh.ruff" - SQLTools extension and SQLite driver:
"mtxr.sqltools", "mtxr.sqltools-driver-sqlite" - The
nodefeature (necessary for the SQLTools SQLite driver) - A related setting necessary for SQLite driver:
"sqltools.useNodeRuntime": true, - Preset connection for a SQLite DB stored in
my_database.dbfile:"sqltools.connections": [ { "previewLimit": 50, "driver": "SQLite", "name": "database", "database": "my_database.db" }], - A post-create command that installs SQLAlchemy and Faker:
python3 -m pip install -r requirements.txt
Besides the .devcontainer folder and requirements.txt, the repository also contains example.py, a file with SQLAlchemy 2.0 example code.
Using the Dev Container
- Open the project in either GitHub Codespaces or VS Code with the Dev Containers extension. As part of starting up, it will auto-install the requirements and SQLTools will detect node is already installed:

- Run
example.py:
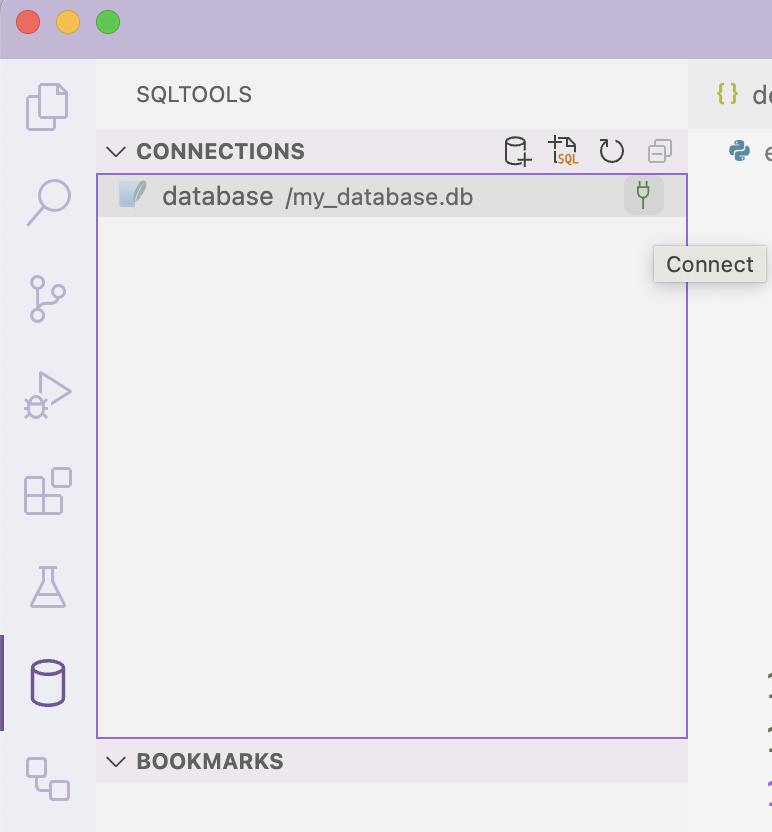
- Select the SQLTools icon in the sidebar:

- Next to the preset connection, select the connect icon (a plug):

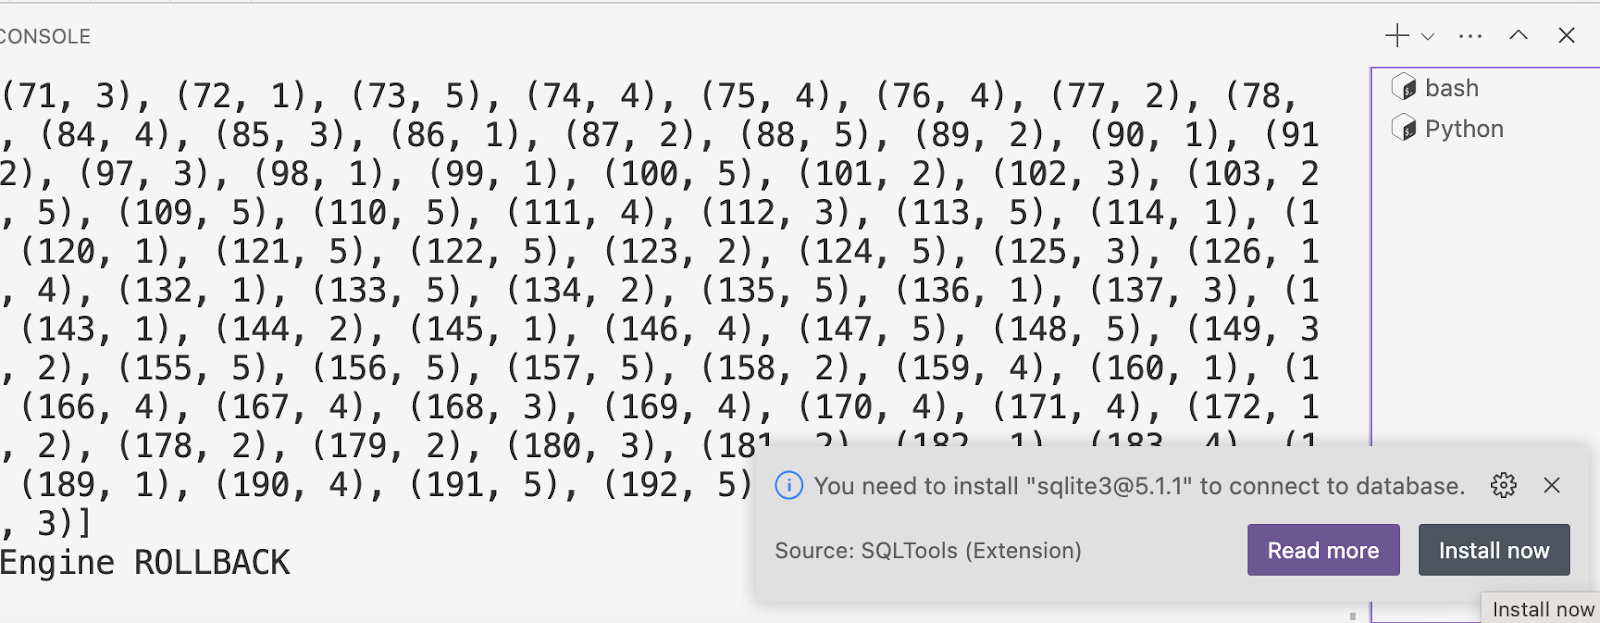
- When it prompts you to install the sqlite npm package, select Install now:

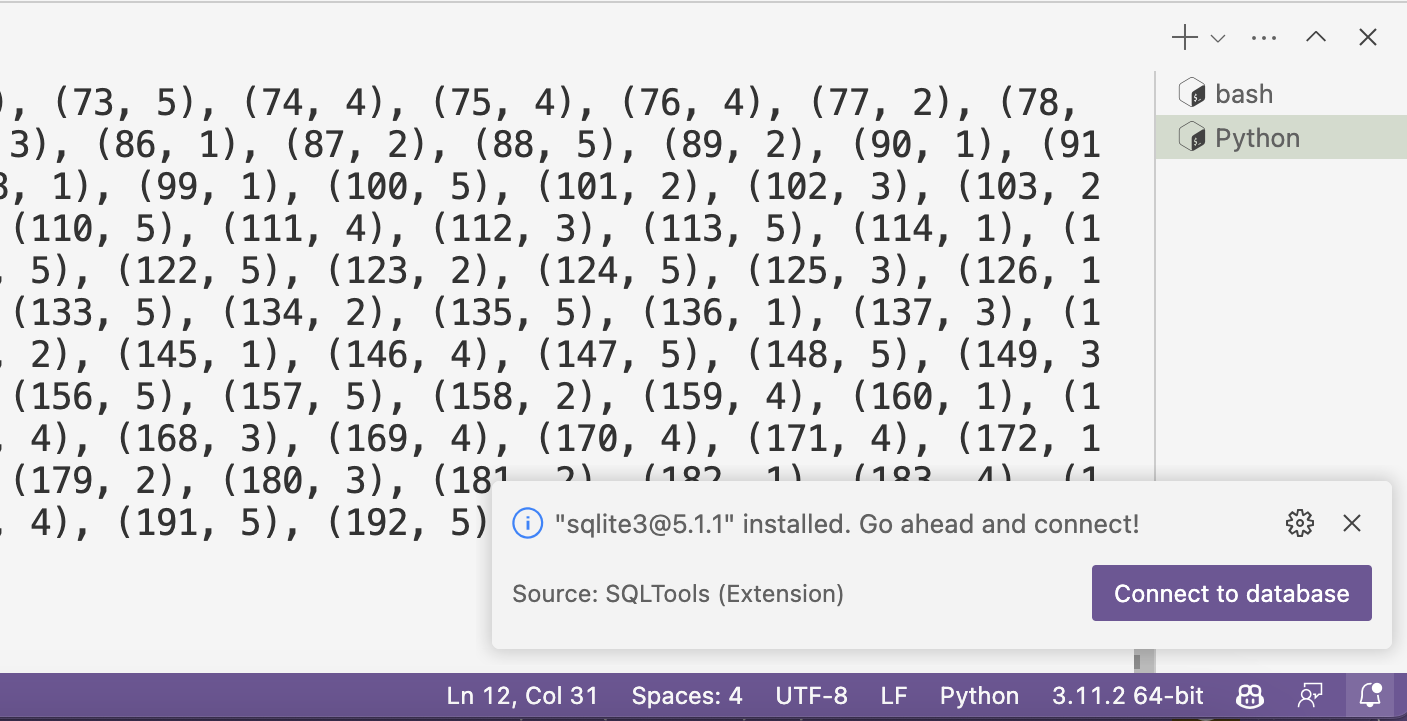
- When it's done installing, select Connect to database.

- Browse the table rows by selecting the magnifying glass next to teach table.

No comments:
Post a Comment