Whenever I am teaching Python workshops, tutorials, or classes, I love to use GitHub Codespaces. Any repository on GitHub can be opened inside a GitHub Codespace, which gives the student a full Python environment and a browser-based VS Code. Students spend less time setting up their environment and more time actually coding - the fun part! In this post, I'll walk through my tips for using Codespaces for teaching Python, particularly for classes about web apps, data science, or generative AI.
Getting started
You can start a GitHub Codespace from any repository. Navigate to the front page of the repository, then select "Code" > "Codespaces" > "Create codespace on main":

By default, the Codespace will build an environment based off a universal Docker image, which includes Python, NodeJS, Java, and other popular languages.
But what if you want more control over the environment?
Dev Containers
A dev container is an open specification for describing how a project should be opened in a development environment, and is supported by several IDEs, including GitHub Codespaces and VS Code (via Dev Containers extension).
To define a dev container for your repository, add a devcontainer.json that describes the desired Docker image, VS Code extensions, and project settings. Let's look at a few examples, from simple to complex.
A simple dev container configuration
The simplest devcontainer.json specifies a Docker image, like from Docker Hub or the Microsoft Artifact Registry. Microsoft provides several Python-specific images optimized for dev containers.
For example, my python-3.13-playground repository sets up Python 3.13 using one of those images, and also configures a few settings and default extensions:
{
  "name": "Python 3.13 playground",
  "image": "mcr.microsoft.com/devcontainers/python:3.13-bullseye",
  "customizations": {
    "vscode": {
      "settings": {
        "python.defaultInterpreterPath": "/usr/local/bin/python",
        "python.linting.enabled": true
      },
      "extensions": [
        "ms-python.python",
        "ms-python.vscode-pylance",
        "ms-python.vscode-python-envs"
      ]
    }
  }
}
The settings inside the "vscode" field will be used whenever the playground is opened in either GitHub Codespaces or local VS Code.
A dev container with Dockerfile
We can also customize a dev container with a custom Dockerfile, if we want to run additional system commands on the image.
For example, the python-ai-agent-frameworks-demos repository uses a Dockerfile to install required Python packages:
FROM mcr.microsoft.com/devcontainers/python:3.12-bookworm

COPY requirements.txt /tmp/pip-tmp/

RUN pip3 --disable-pip-version-check install -r /tmp/pip-tmp/requirements.txt \
    && rm -rf /tmp/pip-tmp
The devcontainer.json references the Dockerfile in the "build" section:
{
  "name": "python-ai-agent-frameworks-demos",
  "build": {
    "dockerfile": "Dockerfile",
    "context": ".."
  },
  "customizations": {
    "vscode": {
      "extensions": [
        "ms-python.python",
        "ms-azuretools.vscode-bicep"
      ],
      "python.defaultInterpreterPath": "/usr/local/bin/python"
    }
  },
  "remoteUser": "vscode"
}
You can also install OS-level packages in the Dockerfile, using Linux commands like apt-get, as you can see in this fabric-mcp-server Dockerfile.
A devcontainer with docker-compose.yaml
When our dev container is defined with a Dockerfile or image name, the Codespace creates an environment based off a single Docker container, and that is the container that we write our code inside.
It's also possible to setup multiple containers within the Codespace environment, with a primary container for our code development, plus additional services running on other containers. This is a great way to bring in containerized services like PostgreSQL, Redis, MongoDB, etc - anything that can be put in a container and exposed over the container network.
To configure a multi-container environment, add a docker-compose.yaml to the .devcontainer folder. For example, this docker-compose.yaml from my postgresql-playground repository configures a Python container plus a PostgreSQL container:
version: "3"

services:
  app:
    build:
      context: ..
      dockerfile: .devcontainer/Dockerfile
      args:
        IMAGE: python:3.12
    volumes:
      - ..:/workspace:cached
    command: sleep infinity
    network_mode: service:db

  db:
    image: postgres:latest
    restart: unless-stopped
    volumes:
      - postgres-data:/var/lib/postgresql/data
    environment:
      POSTGRES_DB: postgres
      POSTGRES_USER: admin
      POSTGRES_PASSWORD: LocalPasswordOnly

volumes:
  postgres-data:
The devcontainer.json references that docker-compose.yaml file, and declares that the "service" container is the primary container for the environment:
{
  "name": "postgresql-playground",
  "dockerComposeFile": "docker-compose.yaml",
  "service": "app",
  "workspaceFolder": "/workspace",
...
Teaching Web Apps
Now let's look at topics you might be teaching in Python classes. One popular topic is web applications built with Python backends, using frameworks like Flask, Django, or FastAPI. A simple webapp can use the Python dev container from earlier, but if the webapp has a database, then you'll want to use the docker-compose setup with multiple containers.
Flask + DB
For example, my flask-db-quiz example configures a Flask backend with PostgreSQL database. The docker-compose.yaml is the same as the previous PostgreSQL example, and the devcontainer.json includes a few additional customizations:
{
  "name": "flask-db-quiz",
  "dockerComposeFile": "docker-compose.yaml",
  "service": "app",
  "workspaceFolder": "/workspace",
  "forwardPorts": [5000, 50505, 5432],
  "portsAttributes": {
    "50505": {"label": "Flask port", "onAutoForward": "notify"},
    "5432": {"label": "PostgreSQL port", "onAutoForward": "silent"}
  },
  "customizations": {
    "vscode": {
      "extensions": [
        "ms-python.python",
        "mtxr.sqltools",
        "mtxr.sqltools-driver-pg"
      ]
      "settings": {
        "sqltools.connections": [
          {
          "name": "Container database",
          "driver": "PostgreSQL",
          "previewLimit": 50,
          "server": "localhost",
          "port": 5432,
          "database": "app",
          "username": "app_user",
          "password": "app_password"
          }
        ],
      }
    }
  },
  "postCreateCommand": "python3 -m pip install -r requirements-dev.txt && pre-commit install",
  "remoteUser": "vscode"
}
The "portsAttributes" field in devcontainer.json tells Codespaces that we're exposing services at those parts, which makes them easy to find in the Ports tab in VS Code.

Once the app is running, I can click on the URL in the Ports tab and open it in a new window. I can even right-click to change the port visibility, so I can share the URL with classmates or teacher. The URL will only work as long as the Codespace and app are running, but this can be really helpful for quick sharing in class.
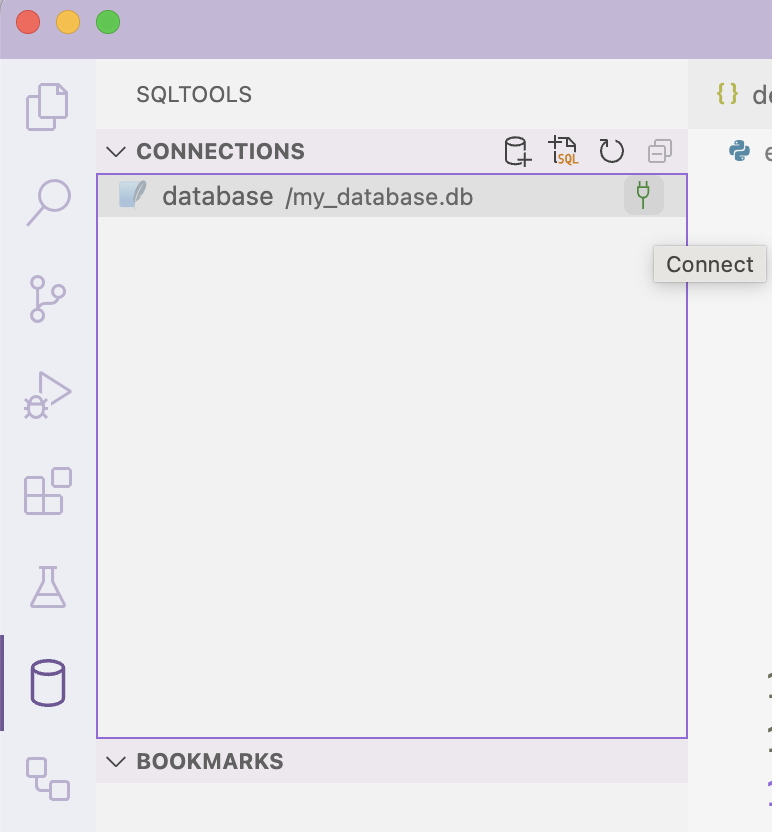
Another customization in that devcontainer.json is the addition of the SQLTools extension, for easy browsing of database data. The "sqltools.connection" field sets up everything needed to connect to the local database.

Django + DB
We can use a very similar configuration for Django apps, as demonstrated in my django-quiz-app repository.
By default, Django's built-in security rules are stricter than Flask's, so you may see security errors when using a Django app from the forwarded port's URL, especially when submitting forms. That's because Codespace "local" URLs aren't truly local URLs, and they bake the port into the URL instead of using it as a true port. For example, for a Django app on port 8000, the forwarded URL could be:
https://supreme-space-orbit-64xpgrxxxcwx4-8000.app.github.dev/
To get everything working nicely in Codespaces, we need Django to treat the forwarded URL as a trusted origin. I made that adjustment in settings.py:
ALLOWED_HOSTS = []
CSRF_TRUSTED_ORIGINS = ["http://localhost:8000",]
if env.get_value("CODESPACE_NAME", default=None):
  CSRF_TRUSTED_ORIGINS.append(
   f"https://{env('CODESPACE_NAME')}-8000.{env('GITHUB_CODESPACES_PORT_FORWARDING_DOMAIN')}"
  )
I've run into this with other frameworks as well, so if you ever get a cross-site origin error when running web apps in Codespaces, a similar approach may help you resolve the error.
Teaching Generative AI
For the past two years, a lot of my teaching has been around generative AI models, like large language models and embedding models. Fortunately, there are two ways that we can use Codespaces with those models for free.
GitHub Models
My current favorite approach is to use GitHub Models, which are freely available models for anyone with a GitHub Account. The catch is that they're rate limited, so you can only send a certain number of requests and tokens per day to each model, but you can get a lot of learning done on that limited budget.
To use the models, we can point our favorite Python AI package at the GitHub Models endpoint, and pass in a GitHub Personal Access Token (PAT) as the API key. Fortunately, every Codespace exposes a GITHUB_TOKEN environment variable automatically, so we can just access that directly from the env.
For example, this code uses the OpenAI package to connect to GitHub Models:
import openai

client = openai.OpenAI(
  api_key=os.environ["GITHUB_TOKEN"],
  base_url="https://models.inference.ai.azure.com")
Alternatively, when you are trying out a GitHub Model from the marketplace, select "Use this Model" to get suggested Python code and open a Codespace with code examples.

For more examples with other frameworks, most from the Python + AI series, check out:
- python-openai-demos repo
- vector-embeddings-demos repo
- ai-quality-safety-demos repo
- openai-chat-vision-quickstart
- my blog post on using agents frameworks with GitHub Models.
Ollama
My other favorite way to use free generative AI models is Ollama. Ollama is a tool that you can download onto any OS that makes it possible to interact with local language models, especially SLMs (small language models).
On my fairly underpowered Mac M1 laptop, I can run models with up to 8 billion parameters (corresponding to ~5 GB download size). The most powerful LLMs like OpenAI's GPT 4 series typically have a few hundred billion parameters, quite a bit more, but you can get surprisingly good results from smaller models. The Ollama tooling runs a model as efficiently as possible based on the hardware, so it will use a GPU if your machine has one, but otherwise will use various tricks to make the most of the CPU.

I put together an ollama-python playground repo that makes a Codespace with Ollama already downloaded. All of the configuration is done inside devcontainer.json:
{
  "name": "ollama-python-playground",
  "image": "mcr.microsoft.com/devcontainers/python:3.12-bullseye",
  "features": {
    "ghcr.io/prulloac/devcontainer-features/ollama:1": {}
  },
  "customizations": {
    "vscode": {
      "settings": {
        "python.defaultInterpreterPath": "/usr/local/bin/python"
      },
      "extensions": [
        "ms-python.python"
      ]
    }
  },
  "hostRequirements": {
    "memory": "16gb"
  },
  "remoteUser": "vscode"
}
I could have installed Ollama using a Dockerfile, but instead, inside the "features" section, I added a dev container feature that takes care of installing Ollama for me. Once the Codespace opens, I can immediately run "ollama pull phi3:mini" and start interacting with the model, and also use Python programs to interact with the locally exposed Ollama API endpoints.
You may run into issues running larger SLMs, however, due to the Codespace defaulting to a 4-core machine with only 16 GB of RAM. In that case, you can change the "hostRequirements" to "32gb" or even "64gb" and restart the Codespace. Unfortunately, that will use up your monthly free Codespace hours at double or quadruple the rate.
Generally, making requests to a local Ollama model will be slower than making to GitHub Models, because they're being processed by relatively underpowered machines that do not have GPUs. That's why I start with GitHub models these days, but support using Ollama as a backup, to have as many options possible.
Teaching Data Science
We can also use Codespaces when teaching data science, when class assignments are more likely to use Jupyter notebooks and scientific computing packages.
If you typically set up your data science environment using anacadonda instead of pip, you can use conda inside the Dockerfile, as demonstrated in my colleague's conda-devcontainer-demo:
FROM mcr.microsoft.com/devcontainers/miniconda:0-3

RUN conda install -n base -c conda-forge mamba
COPY environment.yml* .devcontainer/noop.txt /tmp/conda-tmp/
RUN if [ -f "/tmp/conda-tmp/environment.yml" ]; then umask 0002 \
    && /opt/conda/bin/mamba env create -f /tmp/conda-tmp/environment.yml; fi \
    && rm -rf /tmp/conda-tmp
The corresponding devcontainer.json points the Python interpreter path to that conda environment:
{
  "name": "conda-devcontainer-demo",
  "build": {
    "context": "..",
    "dockerfile": "Dockerfile"
  },
  "postCreateCommand": "conda init",
  "customizations": {
    "vscode": {
      "settings": {
        "python.defaultInterpreterPath": "/opt/conda/envs/demo"
      },
      "extensions": [
        "ms-python.python",
        "ms-toolsai.jupyter",
      ]
    }
  }
}
That configuration includes a "postCreateCommand", which tells Codespace to run "conda init" once everything is loaded in the environment, inside the actual VS Code terminal. There are times when it makes sense to use the lifecycle commands like postCreateCommand instead of running a command in the Dockerfile, depending on what the command does.
The extensions above includes both the Python extension and the Jupyter extension, so that students can get started interacting with Jupyter notebooks immediately. Another helpful extension could be Data Wrangler which adds richer data browsing to Jupyter notebooks and can generate pandas code for you.
If you are working entirely in Jupyter notebooks, then you may want the full JupyterLab experience. In that case, it's actually possible to open a Codespace in JupyterLab instead of the browser-based VS Code.
Disabling GitHub Copilot
As a professional software developer, I'm a big fan of GitHub Copilot to aid my programming productivity. However, in classroom settings, especially in introductory programming courses, you may want to discourage the use of coding assistants like Copilot. Fortunately, you can configure a setting inside the devcontainer.json to disable it, either for all files or specifically for Python:
"github.copilot.enable": {
   "*": true,
   "python": false
}
You could also add that to a .vscode/settings.json so that it would take effect even if the student opened the repository in local VS Code, without using the dev container.
Some classrooms then install their own custom-made extensions that offer more of a TA-like coding assistant, which will help the student debug their code and think through the assignment, but not actually provide the code. Check out the research from CS50 at Harvard and CS61A at UC Berkeley.
Optimizing startup time
When you're first starting up a Codespace for a repository, you might be sitting there waiting for 5-10 minutes, as it builds the Docker image and loads in all the extensions. That's why I often ask students to start loading the Codespace at the very beginning of a lesson, so that it's ready by the time I'm done introducing the topics.
Alternatively, you can use pre-builds to speed up startup time, if you've got the budget for it. Follow the steps to configure a pre-build for the repository, and then Codespace will build the image whenever the repo changes and store it for you. Subsequent startup times will only be a couple minutes. Pre-builds use up free Codespace storage quota more quickly, so you may only want to enable them right before a lesson and disable after. Or, ask if your school can provide more Codespace storage budget.
For additional tips on managing Codespace quotas and getting the most out of the free quotas, read this post by my colleague Alfredo Deza.
Any downsides?
Codespaces is a great way to set up a fully featured environment complete with extensions and services you need in your class. However, there are some drawbacks to using Codespaces in a classroom setting:
- Saving work: Students need to know how to use git to be able to fork, commit, and push changes. Often students don't know how to use git, or can get easily confused (like all of us!). If your students don't know git, then you might opt to have them download their changed code instead and save or submit it using other mechanisms. Some teachers also build VS Code extensions for submitting work.
- Losing work: By default, Codespaces only stick around for 30 days, so only changes are lost after then. If a student forgets to save their work, they will lose it entirely. Once again, you may need to give students other approaches for saving their work more frequently.
Additional resources
If you're a teacher in a classroom, you can also take advantage of these programs:
- GitHub Classroom: Assignments, autograding, and feedback
- GitHub Student Developer Pack: Free software and services for students
- Azure for Students: Free Azure credits for students (helpful for deploying projects)
- Azure Education Hub: Grant credits and software to students